

How Blur Background In Lightroom

How to Blur Background in Lightroom
Have you always take those times when yous wish yous'd shot something with a wider aperture, so your paradigm would take that dreamy groundwork mistiness behind your field of study?
Or maybe like me, you just simply forgot to adjust your aperture? Don't worry, I won't tell if you won't.
Getting this correct in camera is preferable, simply did you know you can fake a groundwork mistiness in Lightroom pretty easily? With the skillful employ of brushes and filters, you can inappreciably tell the departure.
I'grand going to walk y'all through 3 different (and easy) ways to mistiness the groundwork in Lightroom. Regardless of which option you choose, the offset ii steps are identical. Annotation: You tin also Blur a Background in Photoshop. If yous want to learn how to practise this in Photoshop click here.
Let's get started:

Step one. Choose a Mistiness Method
You can mistiness a groundwork in Lightroom using any ane or more of these iii tools:
- Brushes
- Radial Gradient
- Linear Gradient
Depending on the pick you lot cull, get-go click on the Masks icon in the toolbar just below the histogram in Lightroom. Next, choose which selection you desire to utilize to apply mistiness to the image.

Step 2. Adjust Sharpness, Clarity & Exposure
Next you will demand to set the blur outcome that you want to be applied to your epitome using the Lightroom brush, radial gradient or linear gradient tool options. These options are very similar for each tool.
I ordinarily brainstorm by selecting the 'Sharpness' carte du jour particular. From in that location, merely drag the sharpness slider all the fashion back to -100. (TIP: If you're not a fan of sliders, you tin can also click the number to the right of the slider and only type in the value yous would like to use).
In addition to bringing the sharpness all the manner down, I also bring the clarity slider all the way downwards. I like to come across the most dramatic outcome kickoff and then movement the sliders back upwards from in that location, as I go.

Lastly, I bring down the exposure merely a bit also. Reducing sharpness and clarity tends to create unexpected brightness because you are removing some contrast. Make certain all the other sliders are set to zero. (Tip: Y'all can double click on the slider proper noun to reset sliders to cypher).
Now that nosotros've got the beginning ii steps out of the way, allow's get into more than item most how to use each individual aligning tool.
Blur Method #one: Brush
The Lightroom Castor is an incredibly versatile and incredibly powerful tool.Of the three methods we'll discuss today, brushes offer the near directed control. Y'all can literally paint on the blur wherever yous want information technology and apply additional castor layers to specified parts of the image!
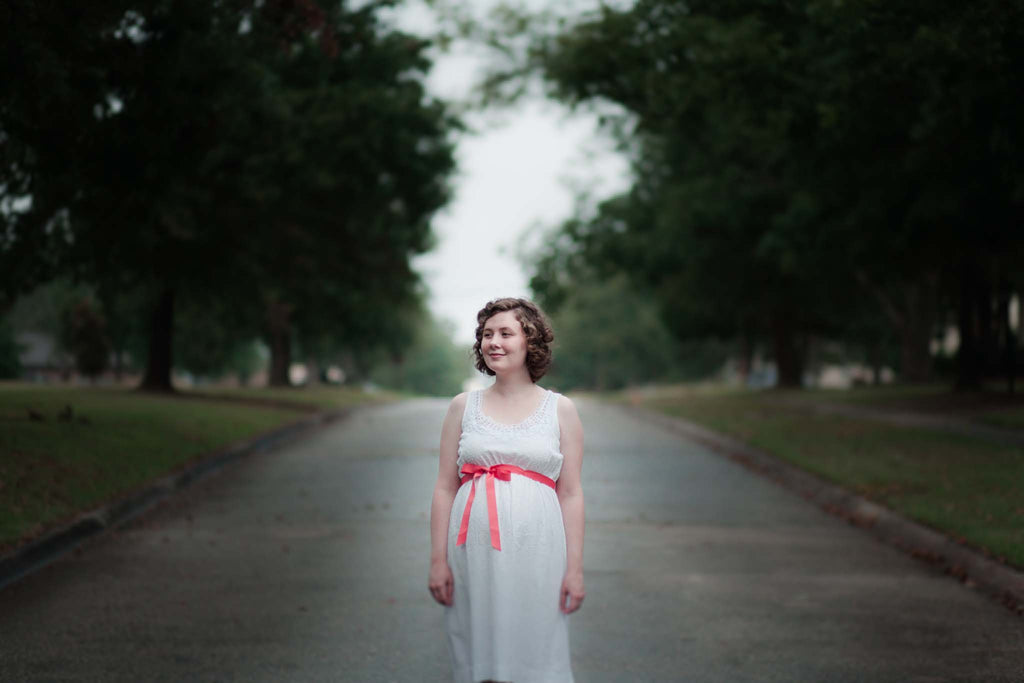
Hither'southward my starting image:

Step 3. Arrange Plume & Flow
Use the feather and flow sliders to arrange how strong you desire the consequence to be.
Footstep 4. Brush on the Blur
Using the brush tool, "paint" the blur effect on your epitome wherever y'all similar. (TIP: Hit the 'O' cardinal to meet a colored overlay of where the effect is existence applied. My overlay is set up to ruddy only you may take set up yours to be a dissimilar color. Either way, the more opaque the color, the stronger the effect volition exist).
TIP #ii: I like to set my flow to around 40 or so and simply paint on additional layers for additional mistiness if needed.

Optional Step 5. Remove Mistiness
If yous accidentally blur an expanse of your epitome that yous wanted to remain abrupt, yous can select the 'Subtract' push and remove it from those areas. This is much easier to do when utilizing the colored overlay.
Final Prototype with Blur Added:
Blur Method #two: Radial Gradient
What radial gradients lack in command, they make up for in fourth dimension-saving ability.Generally, radial gradients volition be your quickest option.
Unlike brushes, radial gradients are limited in that they tin can only be practical in some variation of a round or oval shape. Y'all tin can access the radial gradient tool by clicking on the Masks icon (circle with a dotted outline). Radial gradients are a great choice if you desire to use mistiness all-around your bailiwick. Something I do really appreciate about radial filters is that they use the blur evenly.
Hither'south my starting prototype:

Step 3. Adjust Feather
Adjust the feathering to your gustation. I like to continue mine around 50 and then that the transition from sharp to blurred is smooth.
Stride 4. Invert Mask (If Desired)
Click the 'Capsize Mask' check box at the summit of the Radial Gradient panel. if you lot would similar to apply your edits exterior the circle/oval. Leave this box unchecked if y'all want to utilize your edits within the circle/oval.
Step five. Place & Size the Radial Gradient
Select a spot inside the frame, so click and drag until your filter is the size and shape you desire.

Footstep vi. Arrange Clarity
Pull the clarity slider up if needed (-100 is a pretty drastic effect that tin can exist mitigated when using brushes because you tin can control the opacity of the brush). With the radial filter, you won't have the same amount of control and so you will need to adjust the clarity slider directly to lessen the effect.
Optional Step vii. Remove Blur
Again, if you accidentally blur an expanse that you would like to remain sharp, you tin can click on the the 'Subtract' button on the mask you have created and remove the blur from those areas using a castor or whatsoever of the masking tools. This is much easier to SEE if yous're utilizing the colored overlay.
Final Paradigm with Blur Added:
Blur Method #iii: Linear Gradient
Linear gradients accept long since been my FAVORITE way to create background blur because I feel similar I become the best of both worlds.With linear gradients, I tin can utilize more control than I can with radial filters AND I also become a more even awarding than I can with brushes!
Here'southward my starting image:

Stride 3. Identify and Drag the Linear Gradient
Linear Gradients are a simple click and drag from the outside edge of the frame toward the center. Linear gradients can be horizontal, vertical or any variation of diagonal. You can even rotate them by hovering over the centerline.
Step 4. Adjust the Consequence Transition
When you identify your linear slope, yous will see 3 lines. (Tip: yous can hide or show these lines by tapping the 'H' primal). The closer the lines are to each other, the more abrupt the issue transition will be. The further apart the lines are to each other, the softer teh upshot transition will be.

Step 5. Add Additional Linear Gradients
Yous tin add additional graduated filters as needed or right click on the small round filter dot to duplicate the filter. But exist careful equally this tin often be too dramatic and will probably need some further tweaking. (TIP: This option is bachelor with all three tools we've discussed here).
Optional Footstep 6. Remove Mistiness
As with brushes and radial gradients, if y'all accidentally mistiness an area you would like to remain sharp, you tin can select the 'Decrease' push button in the Masks panel and remove it from those areas using the brush or whatsoever of the available masks. Once again this is much easier to do if yous're utilizing the colored overlay.
Concluding Image with Blur Added:

Save Your Settings as a Custom Blur Preset
After you've finished using ane of these techniques (or a combination) to blur your groundwork, y'all tin click the + symbol in the upper right hand side of the 'Presets' module on the left hand side of Lightroom to save the brushes, radial or linear gradient filters yous've simply created to a new preset. This is an easy way to apply mistiness in the future without having to retrace all of these steps.
Conclusion
Although, blurring your groundwork in Lightroom really tin can't supersede the blur that can be created in-camera, it can definitely add SOME mistiness to your epitome. Then, next time you lot miss capturing a prissy blurry groundwork in-camera, only remember that there'south an easy way to add that dreamy blur to your image in Lightroom!
Exercise you have any questions or comments about How to Blur a Groundwork in Lightroom? Leave us a comment below - we would Love to hear from y'all! AndPLEASE SHARE this post using the social sharing buttons (we actually appreciate it)!


How Blur Background In Lightroom,
Source: https://www.lightroompresets.com/blogs/pretty-presets-blog/how-to-blur-backgroud-in-lightroom
Posted by: wellscatelleaden.blogspot.com
0 Response to "How Blur Background In Lightroom"
Post a Comment